COBE EEG Laboratory
User Manual
Version 1.0
Last Updated: June 2026
Table of Contents
- Equipment Access Policy
- Equipment Inventory
- Standard Operating Procedures
- Equipment Maintenance
- Troubleshooting
1. Equipment Access Policy
1.1 General Requirements
All users must complete the following before using EEG equipment:
- Submit a COBE Lab pre-study form for approval by the Lab Manager and LICS representative
- Be registered in the equipment usage log (name and specific equipment used)
- Read this User Manual
- Submit a signed acknowledgment form confirming completion of training (above requirements + any additional steps listed in 1.2)
1.2 User Categories & Requirements
Principal Investigators (PIs)
- Complete general requirements listed in 1.1
- No additional steps required
Postdoctoral Researchers
- Complete general requirements in 1.1
- Obtain PI signature on acknowledgment form confirming awareness of equipment use
PhD Students
- Both PI and student must complete requirements listed above
- Both must sign acknowledgment form
Bachelor’s/Master’s Students
- Both PI and student must complete general requirements in 1.1
- Both must sign acknowledgment form
- Must complete at least 1 supervised pilot session with PI before collecting participant data
1.3 Equipment & Room booking
All users must book both the room and the specific equipment that they plan to use. Users are accomodated on a first-come-first-serve basis. This is the general COBE Lab Policy, which you can find here: https://bss.au.dk/en/cognition-and-behavior-lab.
2. Equipment Inventory
All EEG equipment is stored in cabinet #5 in the EEG lab control room.
*Indicates item that have not yet been ordered.
Note: Please notify the Lab Manager if any consumables are running low or equipment needs maintenance.
2.1 EEG System 01
- Amplifier (ID: PRO_234)
- Charging USB cable (1)
- Software USB dongle (1)
- Bluetooth USB dongle (1)
2.2 EEG System 02
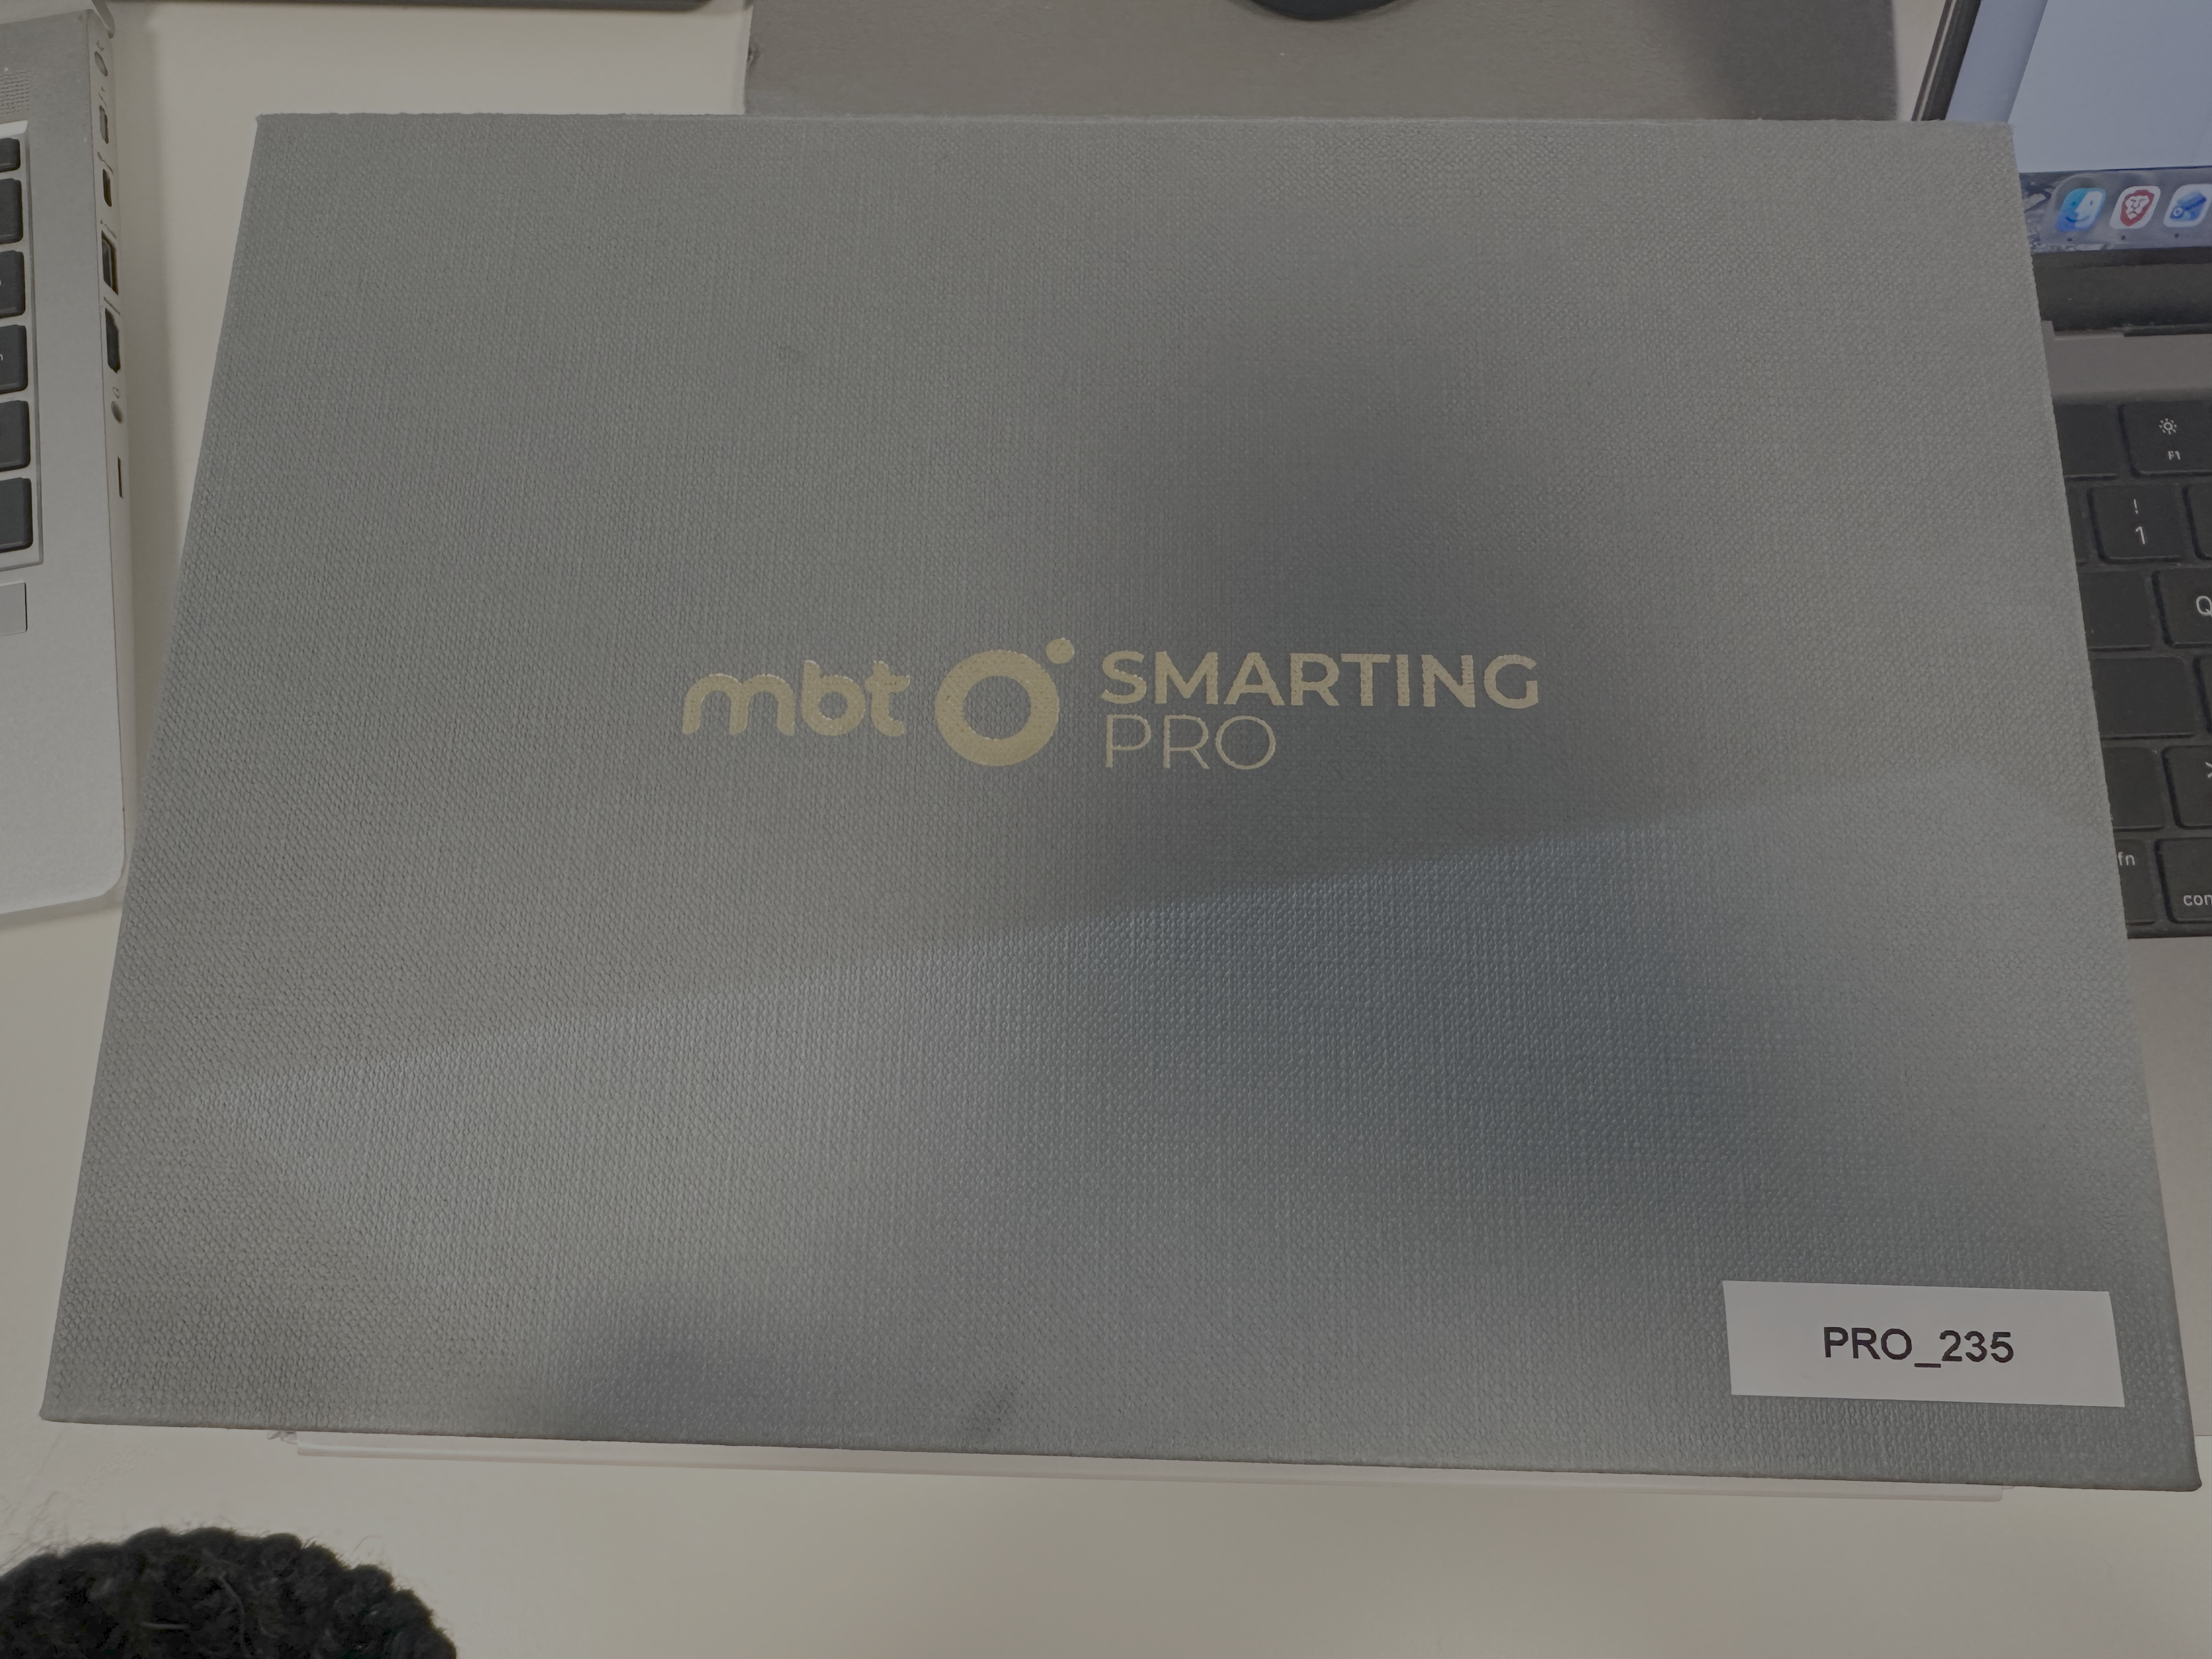
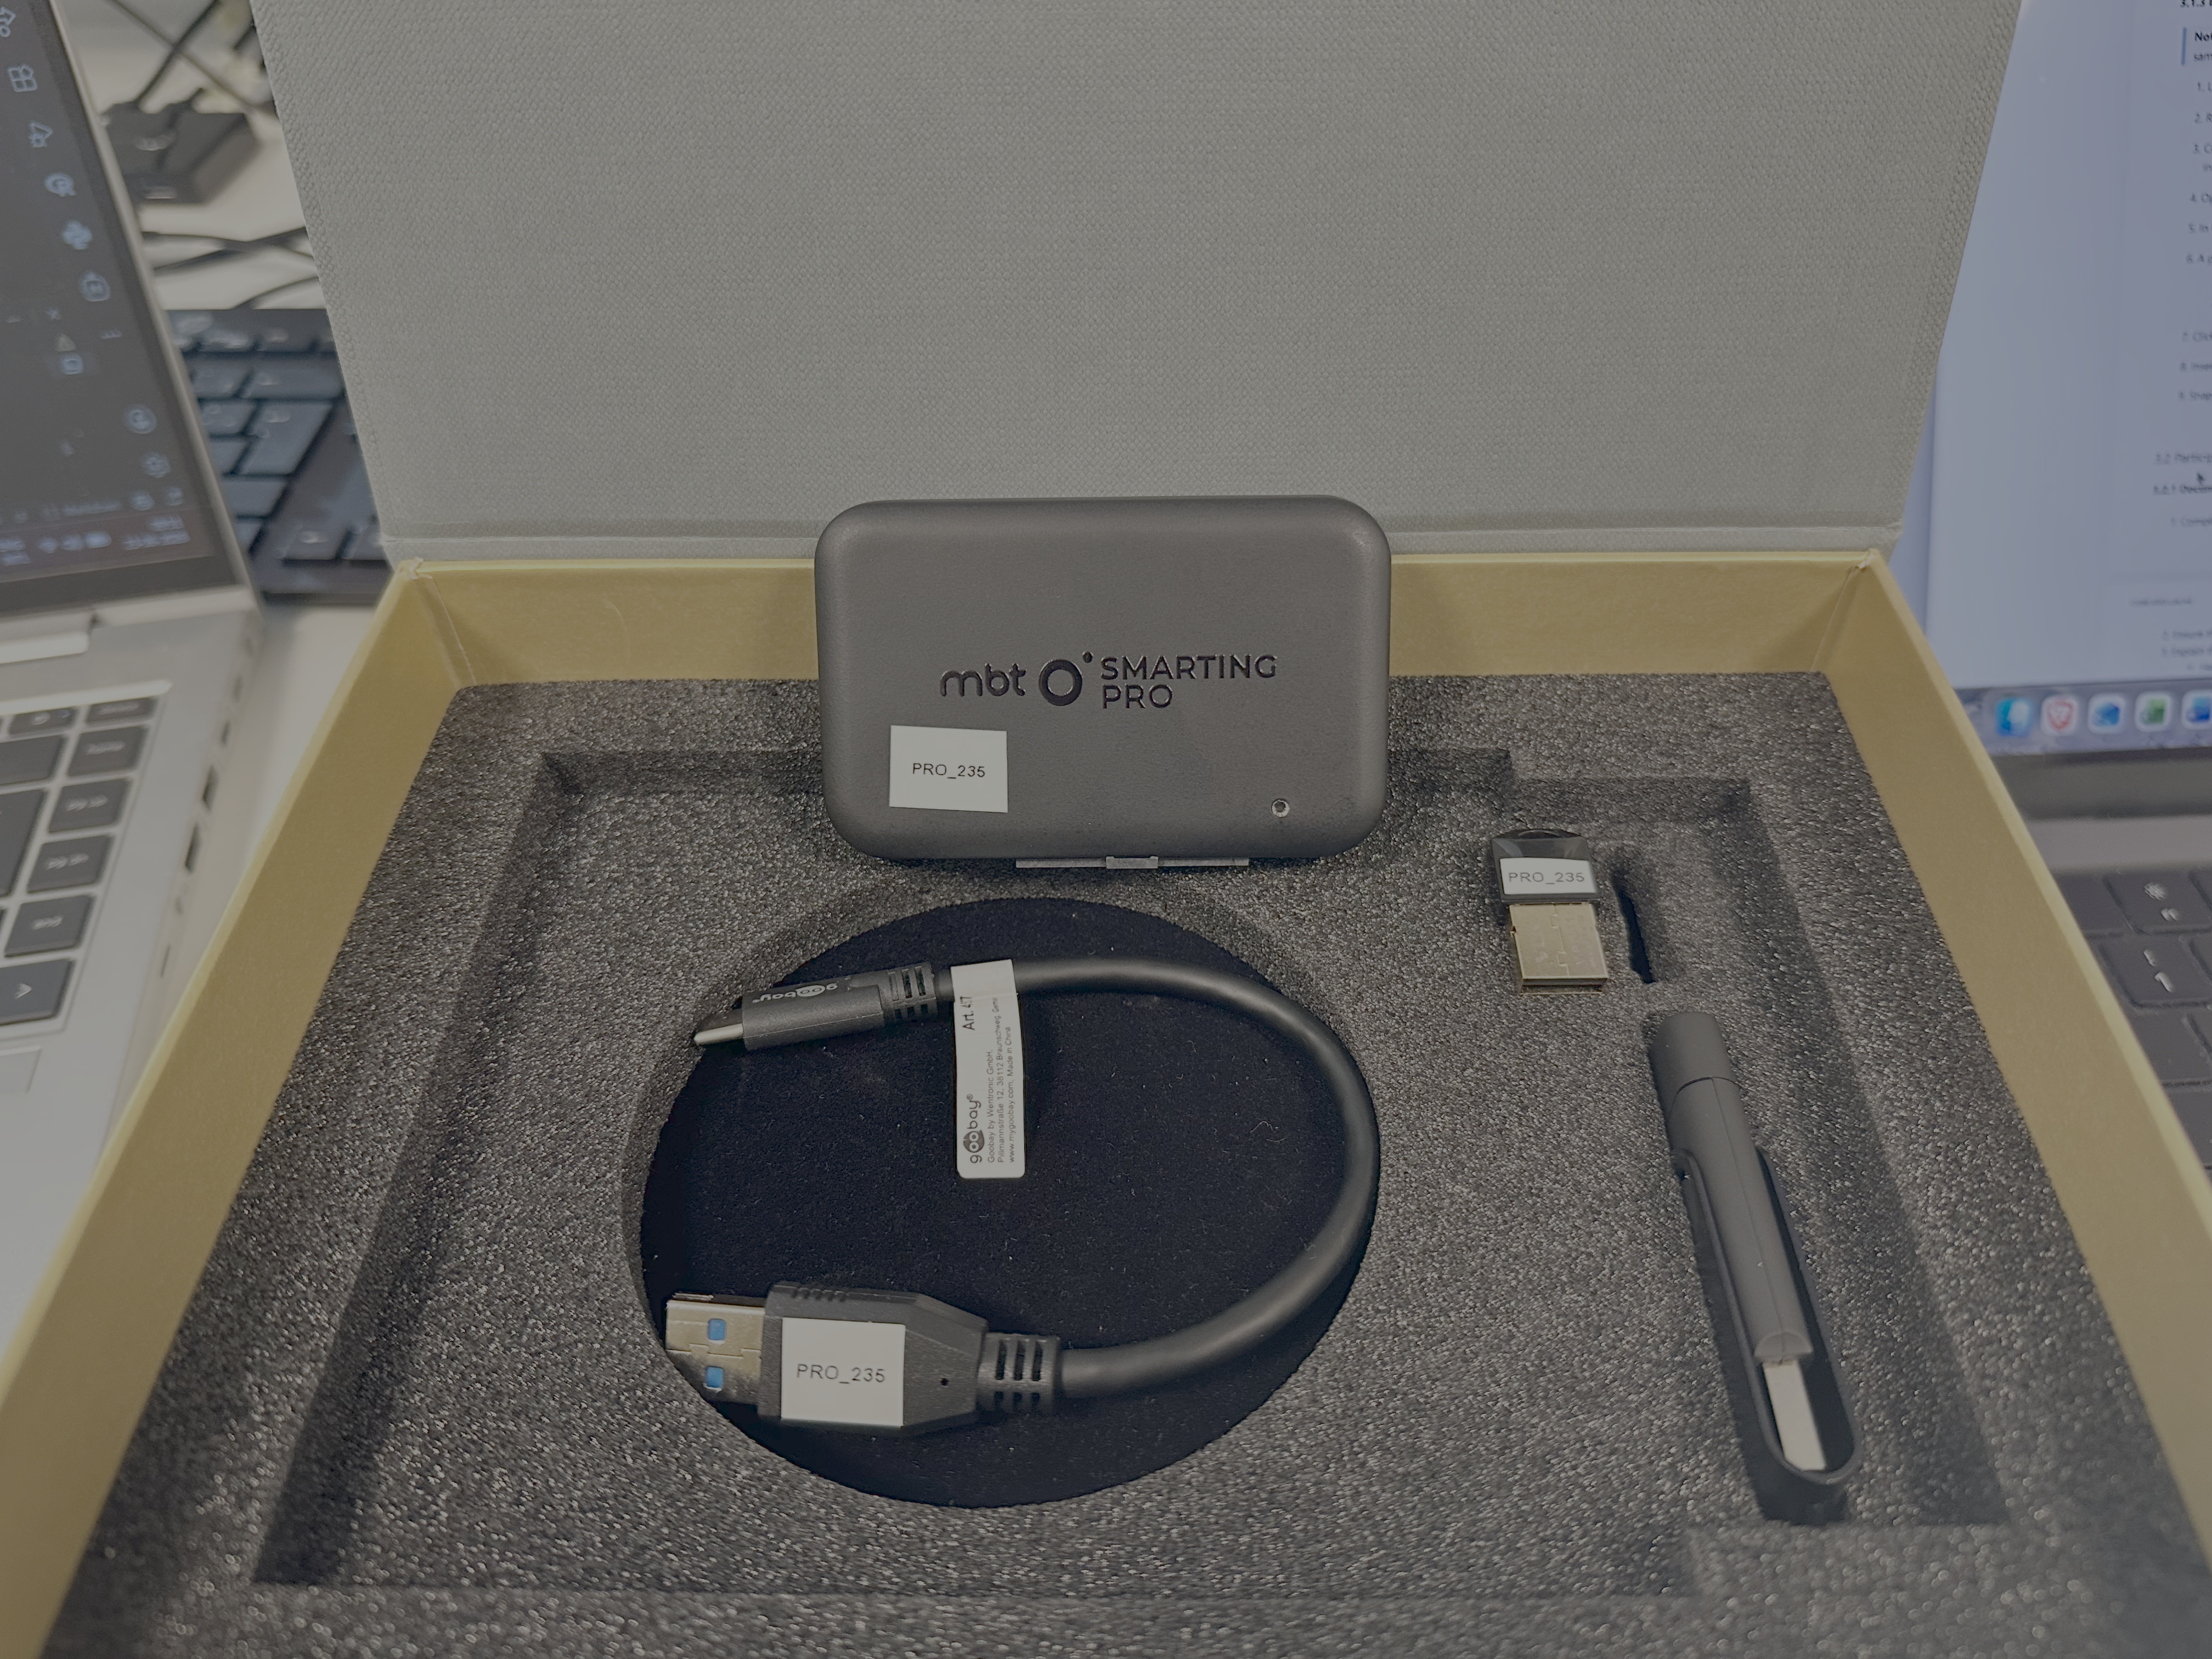
- Amplifier: (ID: PRO_235)
- Charging USB cable (1)
- Software USB dongle (1)
- Bluetooth USB dongle (1)
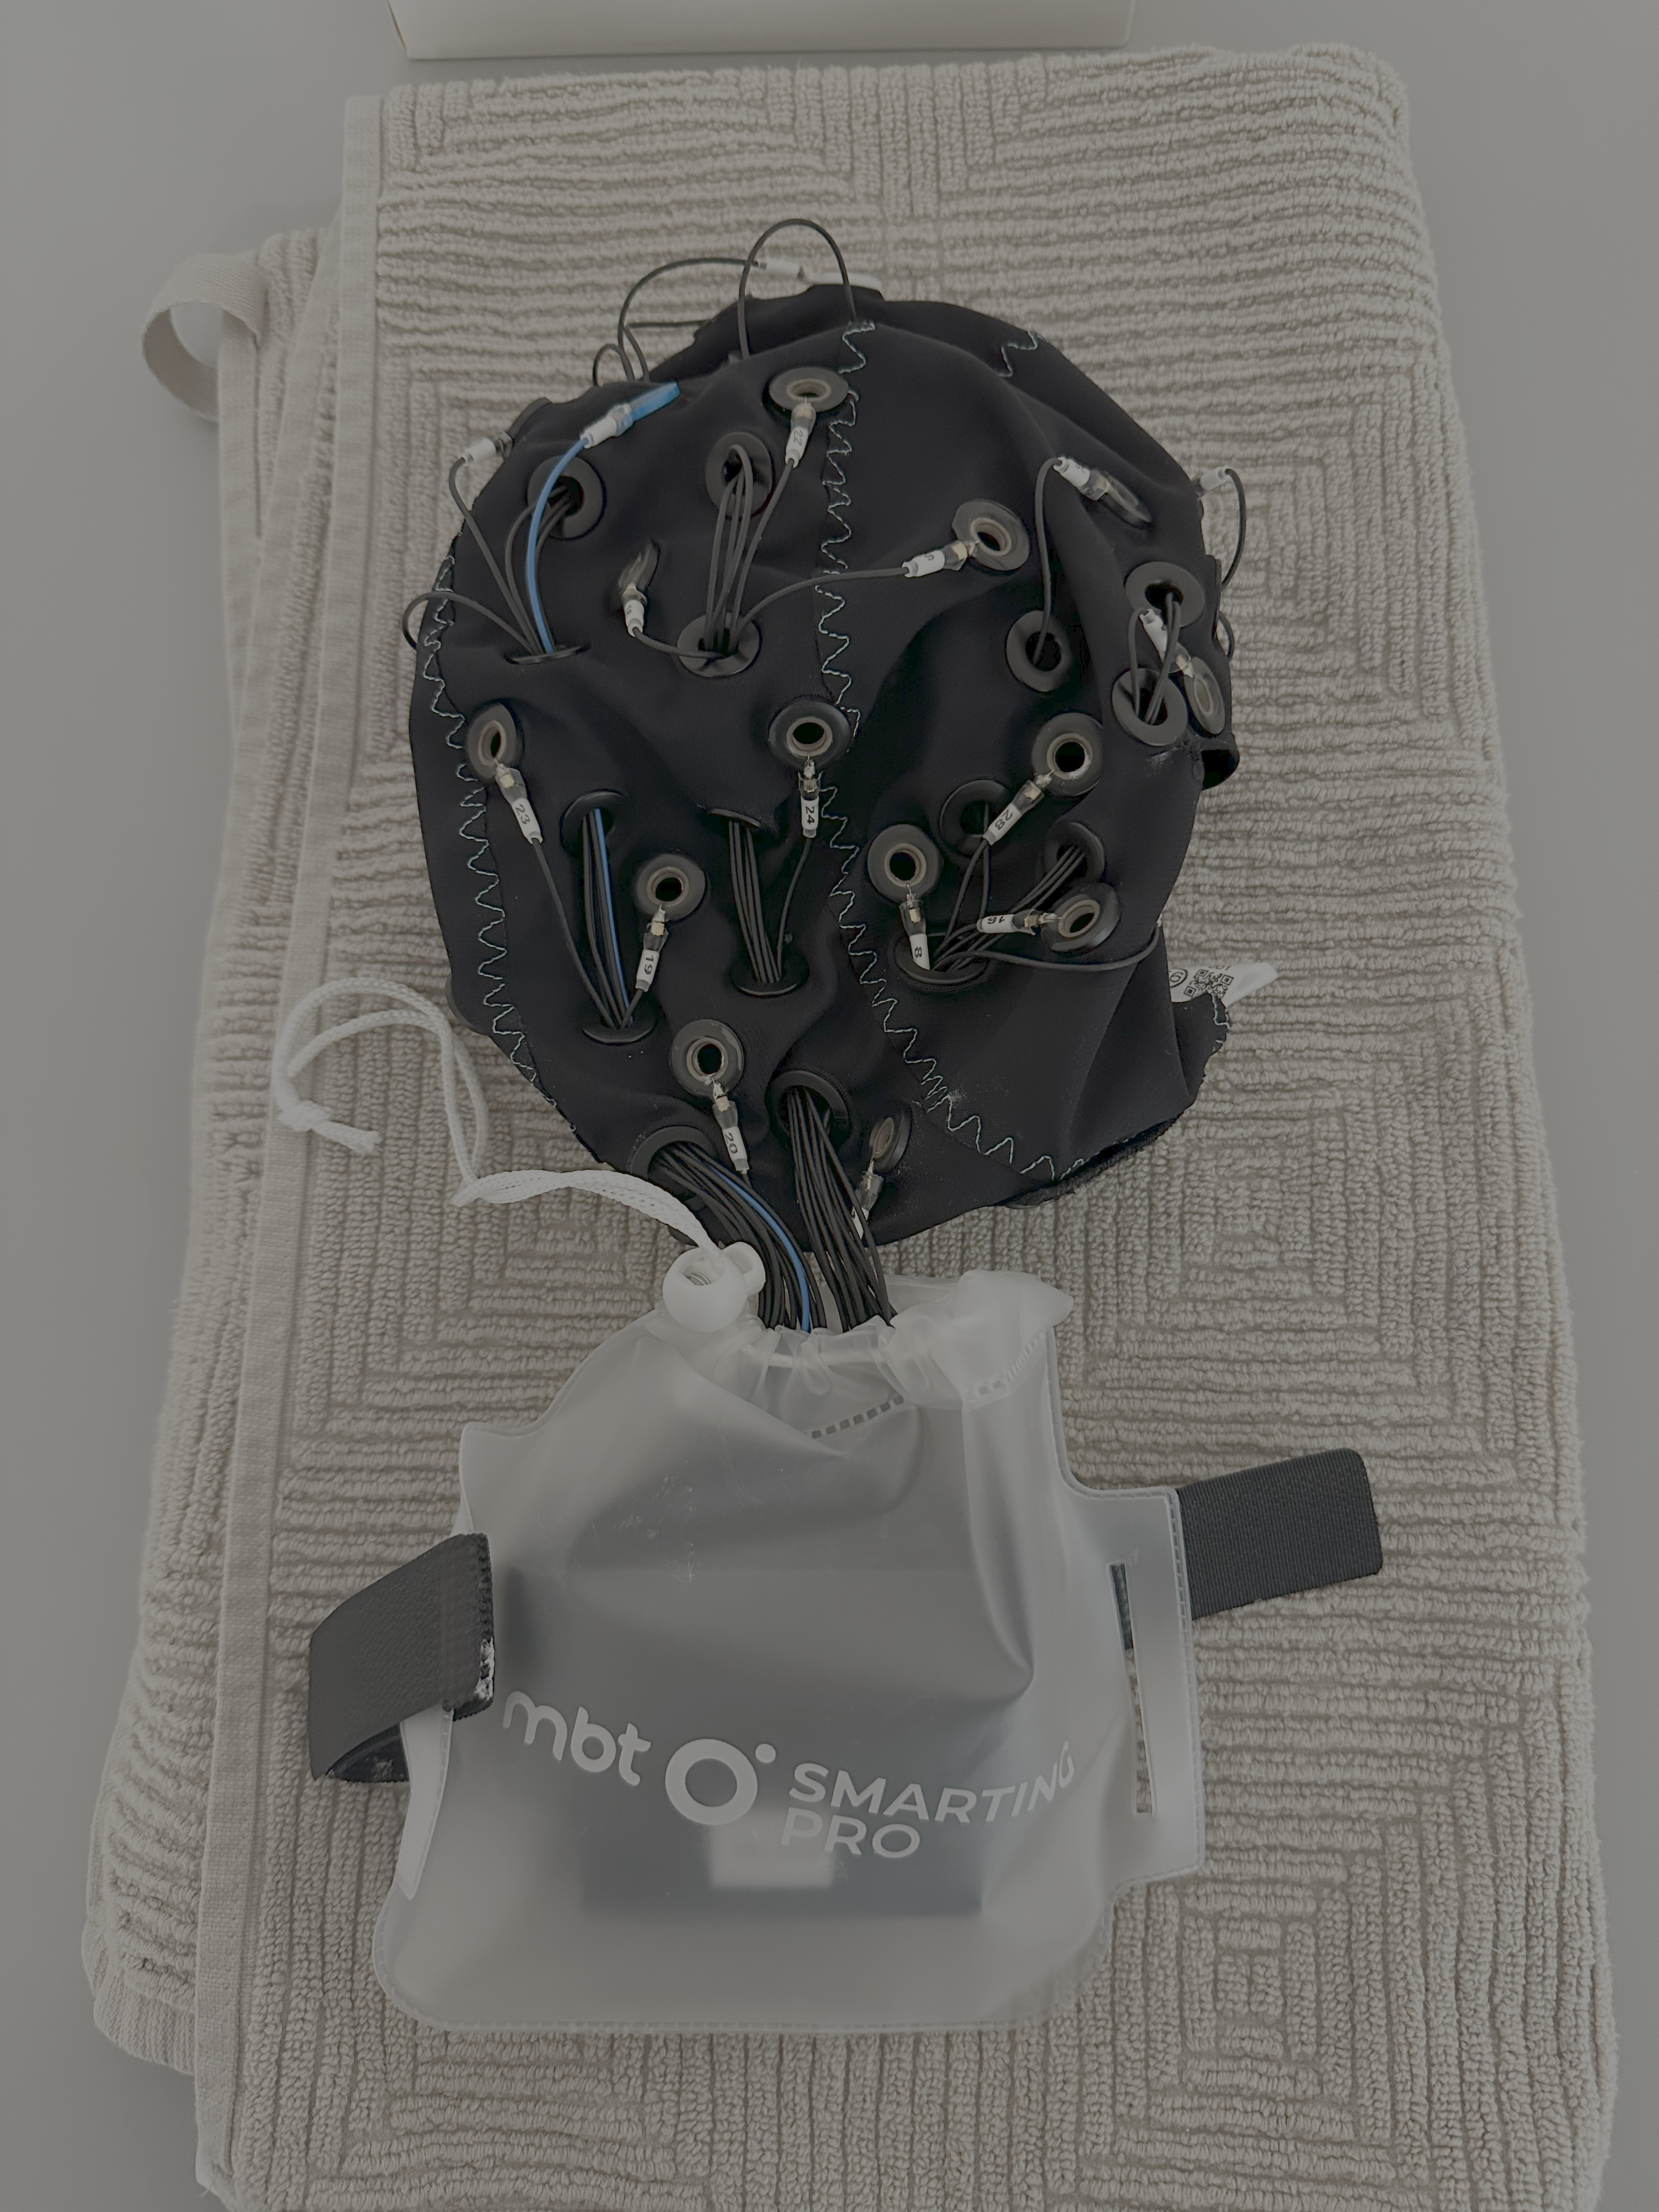
2.3 EEG Caps and Accessories
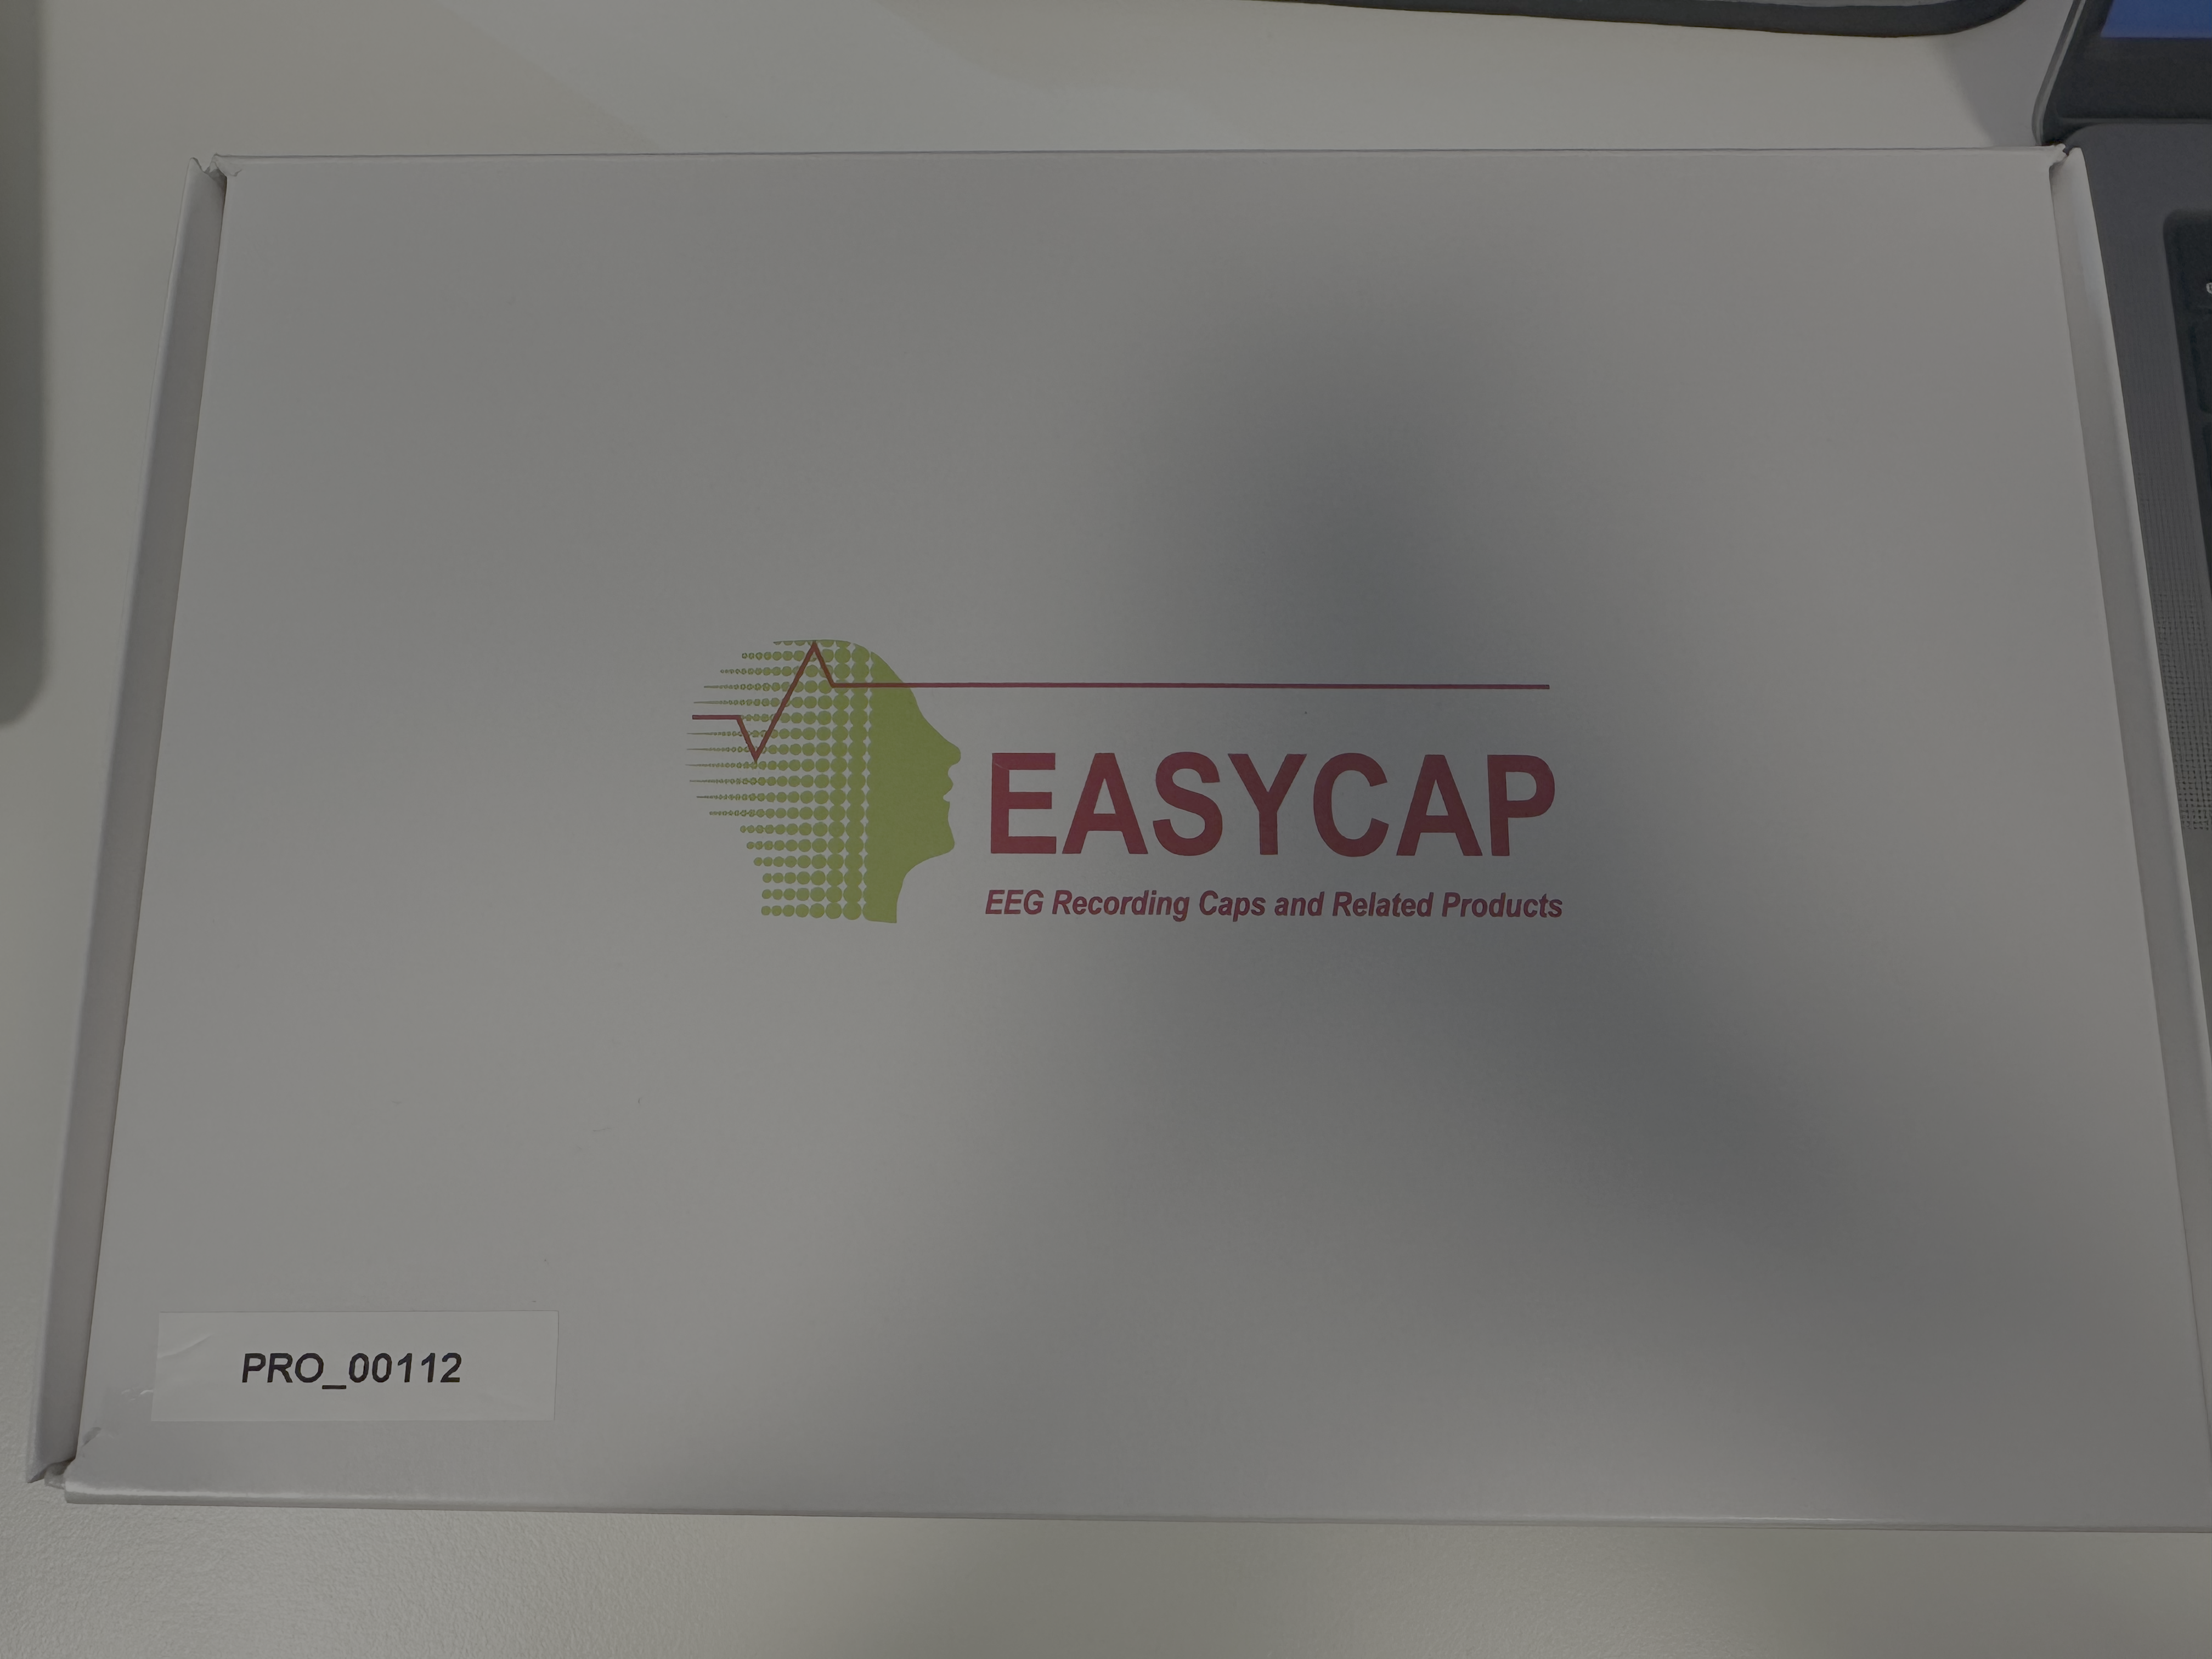
- 32-channel 56cm caps (2 caps: PRO_00116, PRO_00112)
- 32-channel 54cm cap*
- 32-channel 58cm cap*
- Electrode cleaning brushes (2 bags x 25 brushes / bag)
- Plastic wash-bags (2)
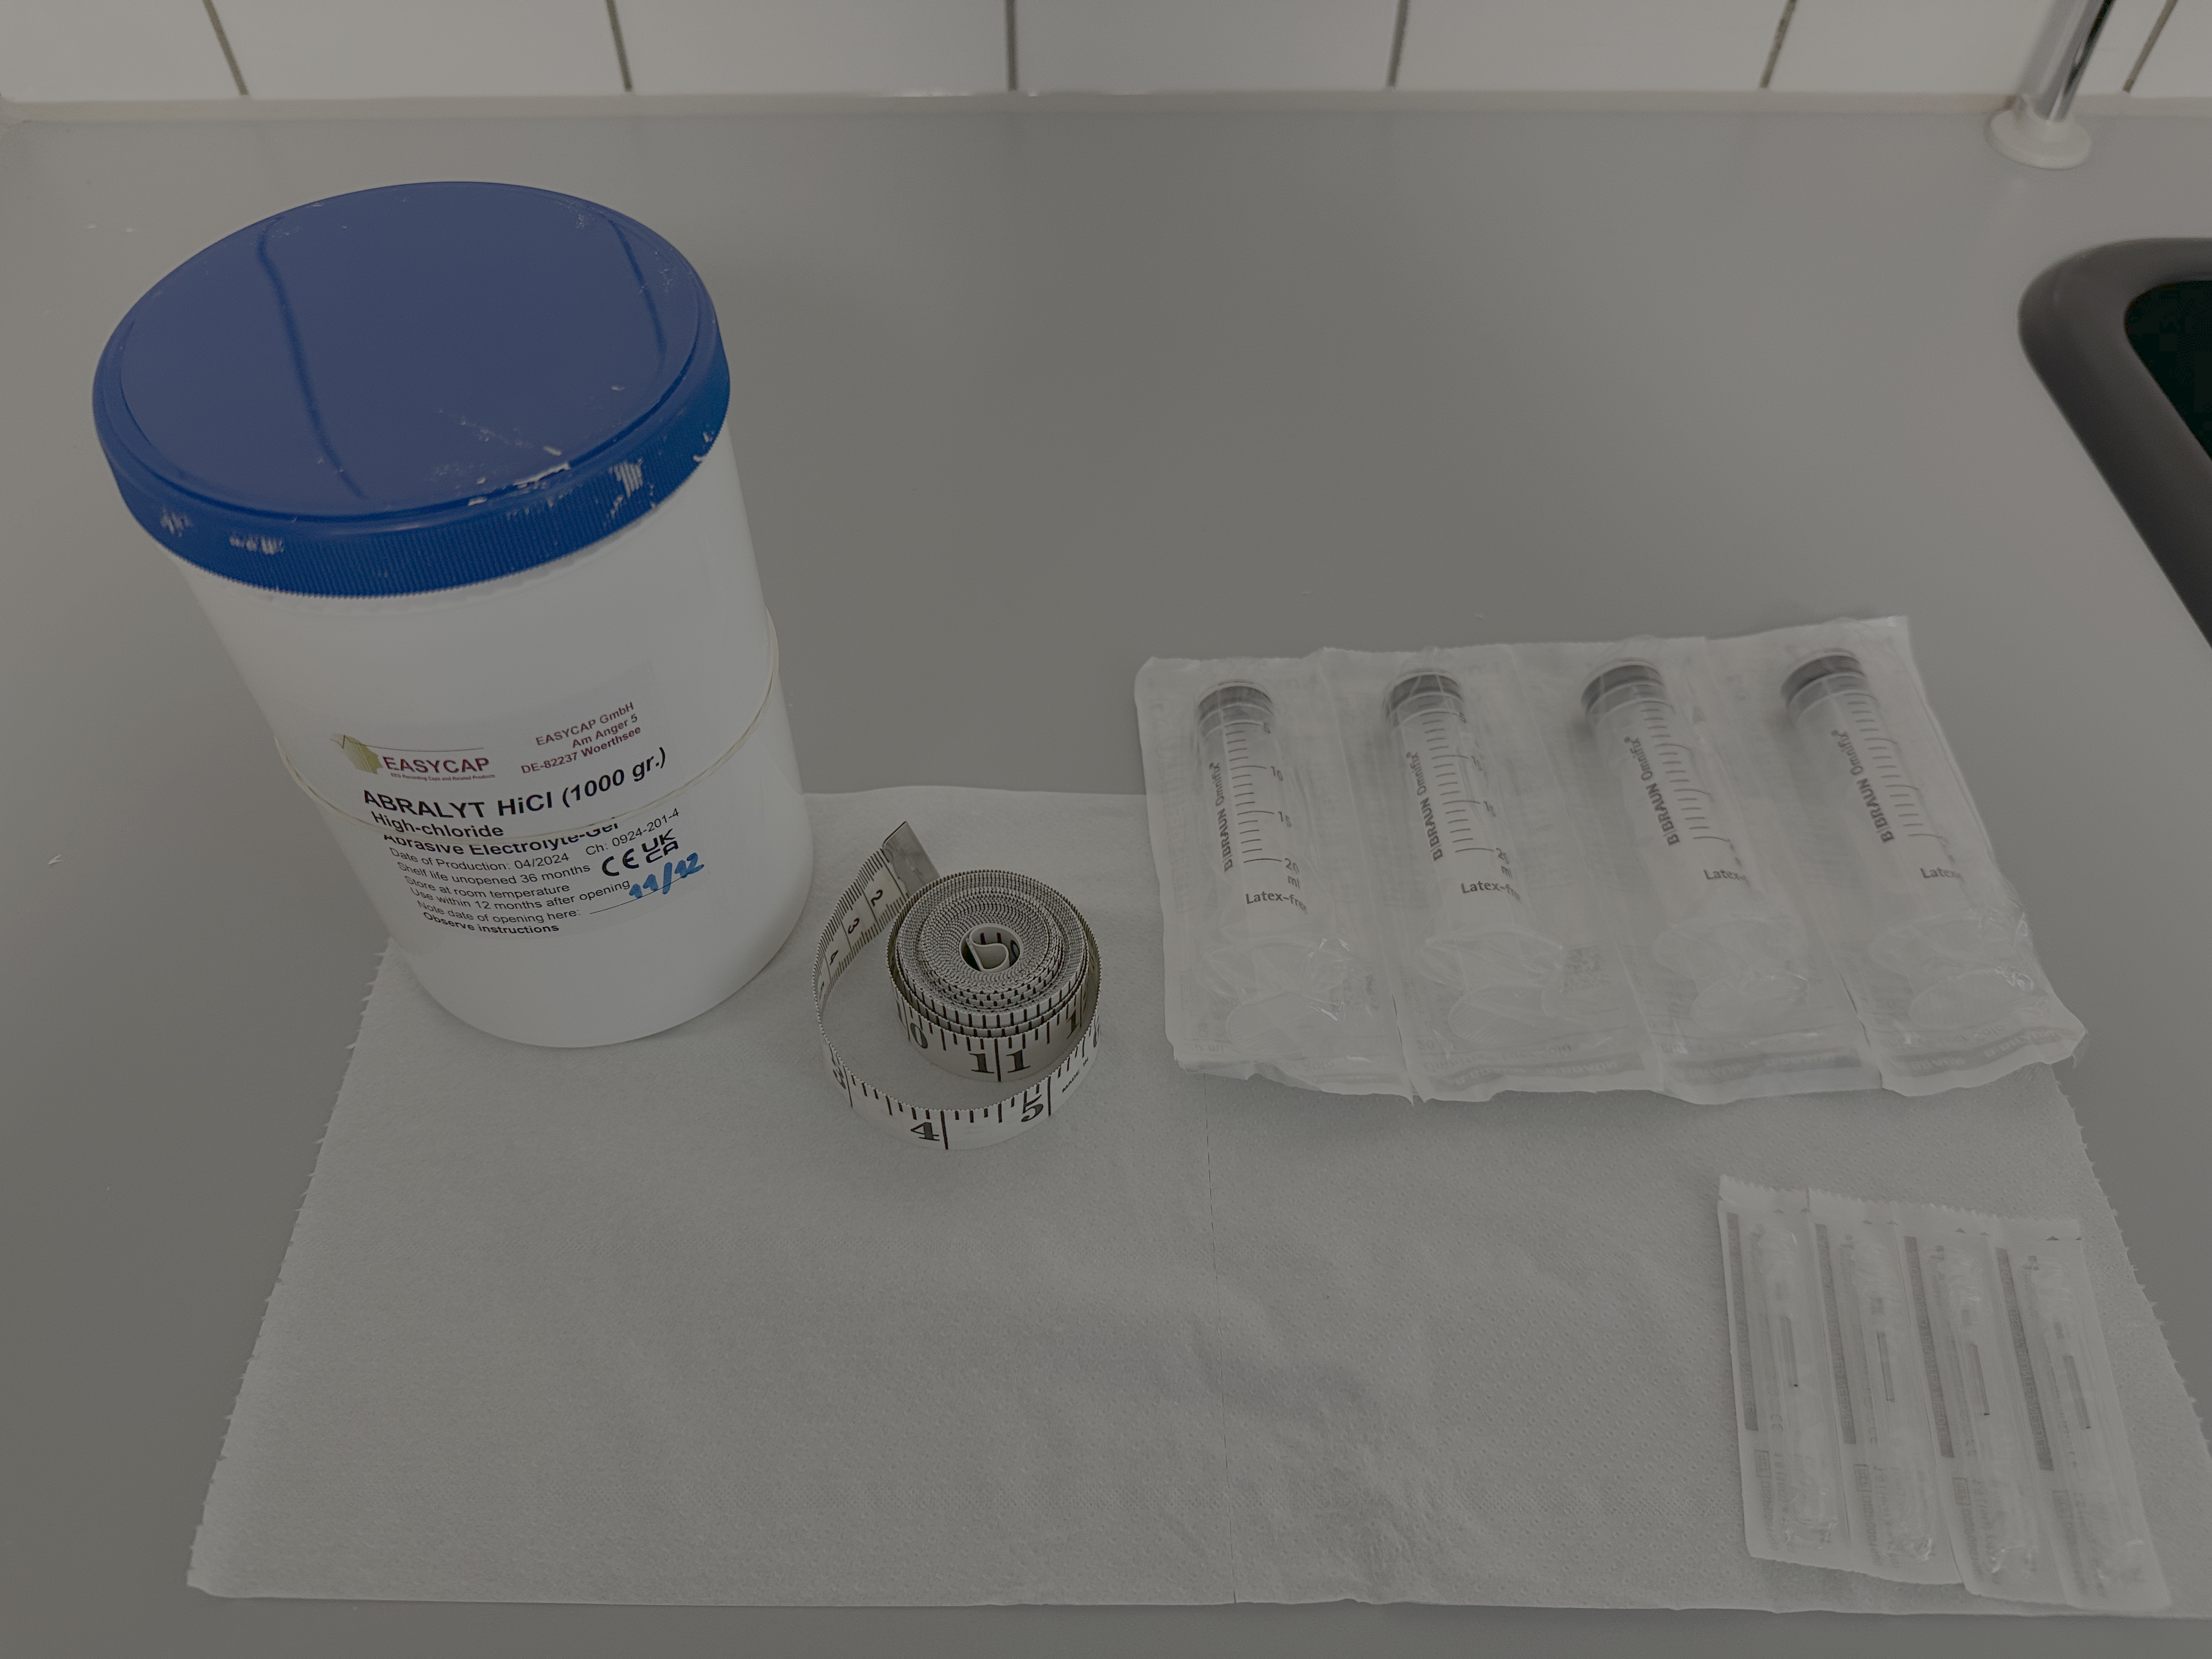
- Conductive gel (2 bottles: check expiration dates before use)
2.4 Additional Items for Data Collection
- Biohazard waste disposal bucket for syringe tips (1)
- Measuring tape (1)
- Towel (1)
- Hairdryer (1)
- Shampoo (1)
2.5 Timing Test Equipment
- Latency testing box for testing synchronization of auditory and visual stimuli with EEG (2)*
3. Standard Operating Procedures
3.1 Pre-Session Setup
3.1.0 Check charge on amplifier(s)
- Take desired amplifier out of EEG kit
- Plug in USB dongle in EEG kit to EEG recording computer
- Elevate user privileges by enabling Heimdal software:
- Click on bottom panel > lower right arrow icon > blue and white icon
- Click on Privileges & Apps Control
- Click Request admin privileges
- Start MBT software on recording computer
- Click toggle next to “Disconnected” to Connect
- Choose device from drop-down menu (if it does not appear, click Scan, then select device)
- Press “Stream”
- Battery level is indicated in the upper left corner
- If charged, no need to do more. If not charged, see charging instructions at bottom of manual.
3.1.1 Prepare Documentation
Ensure the following forms are ready:
- EEG Information Sheet
- Participant Information Sheet
- Consent Form
- Head measurement log
3.1.2 Prepare Gelling Station
- Place 1 bottle of gel on a convenient surface
- Fill 4 syringes with gel:
- Minimize air bubbles during filling
- Test each syringe by pushing out excess gel that may come out with force
- Prepare a bundle of paper towels
- Have measuring tape ready
3.1.3 EEG System Setup
Note: Please only use the amplifier(s) assigned to your experiment in the usage log (should be same for every recording session in your experiment)
- Locate the amplifier kit for your experiment (labelled by ID)
- Remove the amplifier and locate the Bluetooth dongle (smallest dongle in kit)
- Connect the Bluetooth dongle to the EEG recording computer (all computers have the software installed, so choose one), either in PC rack or USB extension
- Elevate user privileges by enabling Heimdal software:
- Click on bottom panel > lower right arrow icon > blue and white icon
- Click on Privileges & Apps Control
- Click Request admin privileges
- Open the mBrainTrain (MBT) Streamer software from the EEG recording computer Desktop
- If the software prompts you for a username and password, find both inside cabinet #5
- In the MBT software, click the toggle next to ‘Disconnected’ (see the upper left window)
- A pop-up window will appear:
- If no devices are listed, click ‘Scan’
- If devices are listed, select the amplifier associated with your experiment (PRO_234 or PRO_235)
- Click ‘Connect’
- Insert the amplifier into the cap’s amplifier holder so that the pins are connected
- Snap the amplifier holder into the the cap so that it is secure
3.2 Participant Arrival and Cap Fitting
3.2.1 Documentation and Orientation
- Complete all required forms with the participant
- Ensure the participant reads the EEG Information Sheet which you can find in the lab
- Explain the process:
- Head measurement procedure
- Gel application process
- What they will experience during the session
3.2.2 Head Measurement
Initial Measurement:
- Measure head circumference by wrapping the tape measure around the head at the level of the forehead center
- Record measurement in the head measurement log (this is for your records)
- Select the correctly sized cap (we have 2 56cm, 1 58, 54)
Cap Placement:
You can find the brochure on cap measurement in the lab to help with the steps below.
- Place the cap on the participant’s head
- Hold the cap from the inside to avoid touching electrodes
- Ensure the cap fabric lies flat (not bunched) on the head
- If needed, you may remove the amplifier from the socket to locate the inion
Electrode Positioning Verification:
Verify that electrode Cz (electrode #18) is centered between the following anatomical landmarks:
- Nasion-to-Inion:
- Place the 0cm point of the tape measure at the nasion (dip between eyebrows at the nose bridge)
- Measure to the inion (bony ridge at the back of the head, underneath the hair)
- Record this distance in the head measurement log
- Pre-Auricular Points (Left-to-Right):
- Locate the gap between the upper and lower jaw next to each ear
- Measure the distance between left and right pre-auricular points
- Record this distance in the head measurement log
3.3 Gel Application and Impedance Check
3.3.1 Initial Setup
- Turn on the recording software and navigate to the Settings tab
- Select the CapMounting setting
- Click Streaming in the recording software
3.3.2 Reference and Ground Electrodes
Fill the following electrodes first:
- Ground electrode (white, labeled DLR)
- Reference electrode (blue, labeled CMS)
- One additional electrode
Proper gel application technique:
- Gently move hair aside with the applicator
- Apply gel
- Move the applicator in a circular motion on the scalp
Monitor impedance:
- Continuously adjust gel in REF/GND electrodes until impedance drops below 10kΩ (light green indicator)

3.3.3 All Electrodes
- Once the three initial electrodes are complete, stop streaming
- Navigate to setting tab. Under Impedance Measurement, change to All Electrodes
- Restart streaming
- Apply gel to all remaining electrodes
- Optimal: Light green (≤10kΩ)
- Acceptable: Dark green (≤20kΩ)
- Note: This process may take considerable time
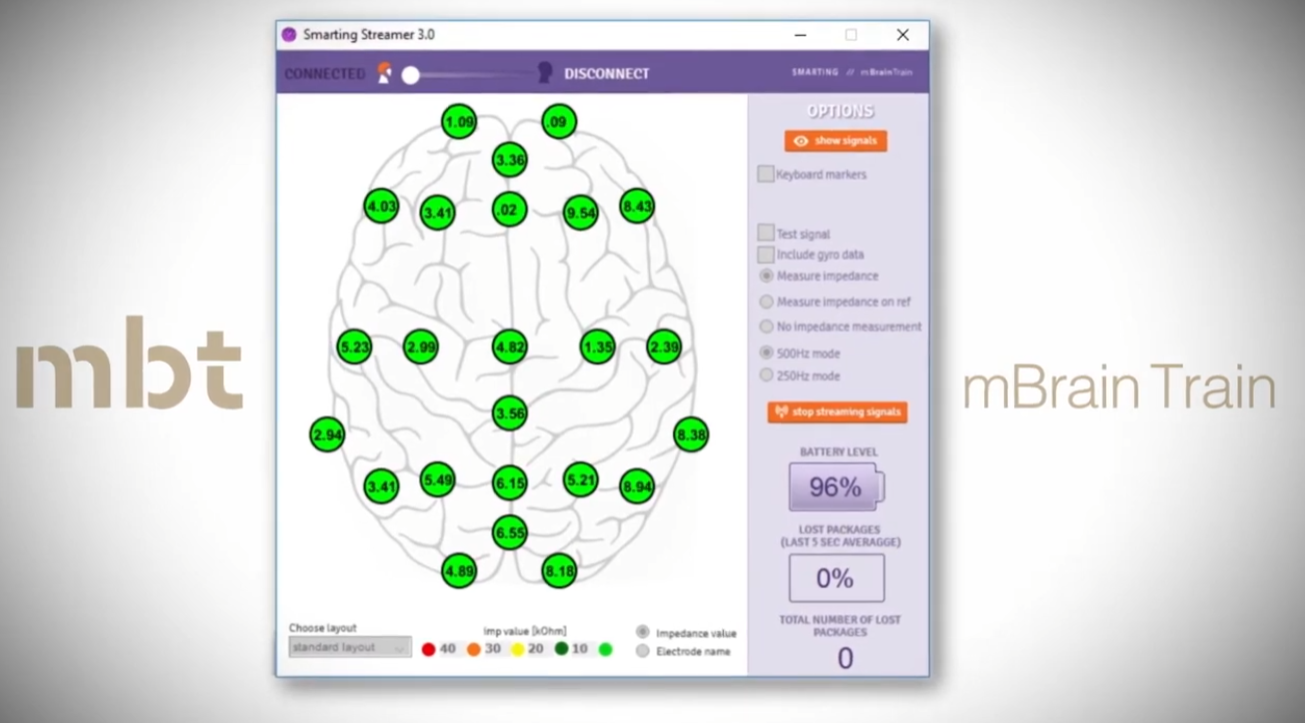
3.3.4 Final Signal Check
- Turn off impedance measurement and stop streaming
- Start streaming again and navigate to the Signals tab
- Verify data quality through the visualization
- Note: Visualization shows processed data; raw data is what gets stored
Important: Avoid getting gel on surrounding surfaces during application
3.4 Data Collection
3.4.1 Start EEG recording
- Make sure that Streaming is set to “on”
- Click red “Record” button
- In pop-up window:
- File format = “xdf file” or “bdf file” (both are easily readable by MATLAB & Python)
- Folder = Path to your experiment folder
- Name = You preferred name
- Check all available LSL streams
- Click PC recording (otherwise you will save to SD card on the amplifier, which we do not have a protocol for at the moment)
- Open the Signals tab to monitor Signal + triggers
- Start your experiment on the stimulus presentation machine
3.4.2 Communication System
- Use the speaker system (located to the right on the control room table) to give instructions to the participant
- Turn on all three components (open the microphone cover to activate it)
- Turn off the speaker system once the experiment begins
3.4.3 Participant Monitoring
- Monitor the participant via the video stream on the laptop in the control room
- Ensure data quality remains stable throughout the session
3.5 Post-Session Procedures
3.5.1 Ending the Recording
- Stop recording and disconnect the amplifier in the software
- Remove the cap from the participant’s head
- Place the amplifier by the sink (still attached to the cap)
- Escort the participant out and show them to the hair-washing station if needed
3.5.3 Cap Cleaning Procedure
Preparation:
- Wash your hands thoroughly (they likely have gel on them)
- Disconnect the amplifier from the cap
- Place the amplifier holder and as much of the cable as possible in the clear protective bag
- Charge amplifier if needed (see instructions below)
- Store amplifier in the appropriate kit
Cleaning:
- Clean the cap using the mascara-style brushes at the lab sink
- Ensure all gel is removed from each electrode
- Rinse thoroughly with water
Drying and Storage:
- Place the clean cap on a towel by the sink to dry (keep amplifier holder in the protective bag so that it does not get wet)
- Allow the cap to dry completely before storing
- Once dry, store the cap in the appropriate kit
Cleanup:
- Push excess gel back into the gel container
- Clean syringes with water
- Dispose of syringe tips in the biohazard waste bucket
- Empty any lab trash into the hallway trashcans
Charge amplifiers:
- Find USB in EEG kit for your amplifier
- Plug USB-C into amplifier and USB-A into computer for charging
- Charging can take several hours so be sure to leave enough time between participants to get a full charge.
- When the amplifier is done charging, a green light will appear
- After charging, please return amplifier & USB charger to box with EEG kit
4. Equipment Maintenance
4.1 Consumables Management
Monitor and maintain adequate supplies of:
- Conductive gel (check expiration dates)
- Syringes and tips
- Electrode cleaning brushes
- Paper towels
- Shampoo and towels
Reporting:
- Notify the Lab Manager when supplies are running low (before completely depleted)
- Report any equipment malfunctions immediately
- Log any issues in the equipment log
4.2 Regular Maintenance Schedule
After each use:
- Clean cap thoroughly
- Inspect electrodes for damage
- Ensure amplifier is stored properly
Weekly:
- Check gel expiration dates
- Verify all equipment is accounted for
- Clean lab surfaces
Monthly:
- Deep clean all caps
- Inventory all supplies
- Report equipment status to Lab Manager
5. Troubleshooting
5.1 LSL Stream Not Visible
If you cannot see the LSL stream:
- Go to Start and search for “allow an app through windows firewall”
- Click Change settings
- You may need to elevate privileges with Heimdal first
- Enter the COBE Lab’s username and password
- Click Allow another app
- For the sending computer: typically Python
- For the receiving computer: typically ** MBTstreamer**
- To find the app location:
- Open PowerShell
- Type
python list - Copy the path into the pop-up window
- Click OK
5.2 Bluetooth Connection Issues
Before first use of a new Bluetooth dongle:
- Open Device Manager
- Locate and disable the internal Bluetooth driver for the dongle
- Do this before plugging in the dongle for the first time
5.3 High Impedance Troubleshooting
If an electrode consistently shows high impedance:
- Check that hair is moved aside sufficiently
- Add more gel
- Gently press and rotate the electrode against the scalp
- Ensure the electrode is making good scalp contact (not sitting on hair)
5.4 Poor Signal Quality
- Re-check impedance of all electrodes
- Verify reference and ground electrodes are well below 10kΩ
- Check that amplifier connections are secure
- Ensure participant is relaxed and minimizing muscle tension
Contact Information
Lab Manager: cobelab@au.dk
LICS Representative: Anna Zamm (azamm@cc.au.dk)
Appendix A: Head Measurement Log
Use this log to track head measurements and cap sizes for each experimental session. This helps ensure consistency across sessions and aids in equipment planning.
| Experiment Session # | Date | Head Measurement(s) | Cap Size(s) Used |
|---|---|---|---|
Instructions:
- Record the session number or participant ID
- Enter the date in DD/MM/YYYY format
- Record head circumference in cm (e.g., 56cm, 54cm, 58cm)
- Note which cap(s) were used (e.g., PRO_00116, PRO_00112)
Appendix B: Training Acknowledgement Form
COBE EEG Laboratory Equipment Training Acknowledgement
User Information:
Name: ___________________
Position (check one):
☐ Principal Investigator
☐ Postdoctoral Researcher
☐ PhD Student
☐ Bachelor’s/Master’s Student
Department: ___________________
Email: ___________________
Date: ___________________
Training Completion Checklist
I confirm that I have completed the following requirements:
☐ Submitted COBE Lab pre-study form for approval by Lab Manager and LICS representative
☐ Been registered in the equipment usage log
☐ Read the COBE EEG Laboratory User Manual (Version 1.0) in its entirety
☐ Understand the standard operating procedures for EEG data collection
☐ Understand the equipment maintenance and cleaning procedures
☐ Understand the troubleshooting procedures
☐ Know how to contact the Lab Manager for equipment issues or questions
Equipment to Be Used
Please list the specific equipment assigned to your experiment:
Amplifier ID(s): ___________________
Cap Size(s): ___________________
Other Equipment: ___________________
User Acknowledgement
I acknowledge that:
- I have read and understood all sections of the COBE EEG Laboratory User Manual
- I will follow all standard operating procedures outlined in this manual
- I will maintain equipment properly and report any issues immediately to the Lab Manager
- I will book equipment and rooms according to COBE Lab policy
- I am responsible for proper cleaning and storage of equipment after each use
- I understand that failure to follow these procedures may result in loss of equipment access
User Signature: ___________ Date: _______
Principal Investigator Acknowledgement (Required for Postdocs, PhD Students, and Bachelor’s/Master’s Students)
I, as the Principal Investigator, acknowledge that:
- I am aware that the above-named individual will be using EEG equipment in the COBE Lab
- I confirm that this individual has received appropriate training and supervision
- I take responsibility for ensuring proper equipment use by this individual
PI Name (print): ___________________
PI Signature: ___________ Date: _______
For Bachelor’s/Master’s Students Only
Supervised Pilot Session Confirmation:
I confirm that the student named above has completed at least one supervised pilot session with me before collecting participant data.
PI Signature: ___________ Date: _______
Please submit this completed form to the Lab Manager before using EEG equipment.
Lab Manager Contact: cobelab@au.dk
This manual is a living document and will be updated as procedures are refined. Please report any errors or suggestions for improvement to the Lab Manager.